Morph Installer Quickstart
This guide is fully end-user focused:
- Download the latest version from GitHub Releases
- Complete installation with the installer
- Open a terminal (PowerShell, CMD, or Bash)
- Start the REPL
- Create a new project
- Take the first build
- Run the project
This page uses screenshot placeholders; you can replace them with real images later.
1) Download the Latest Version from GitHub Releases
Open this page in your browser:
https://github.com/jeandarcc/morph/releases/latest
Download the package for your operating system:
- Windows:
.exeinstaller - Linux/macOS: the relevant archive or installer published for your platform
![]()
Note: This guide uses the Windows installer flow. Linux/macOS follows the same logic: after installation, verify the
morphcommand in a terminal and continue with the same project flow.
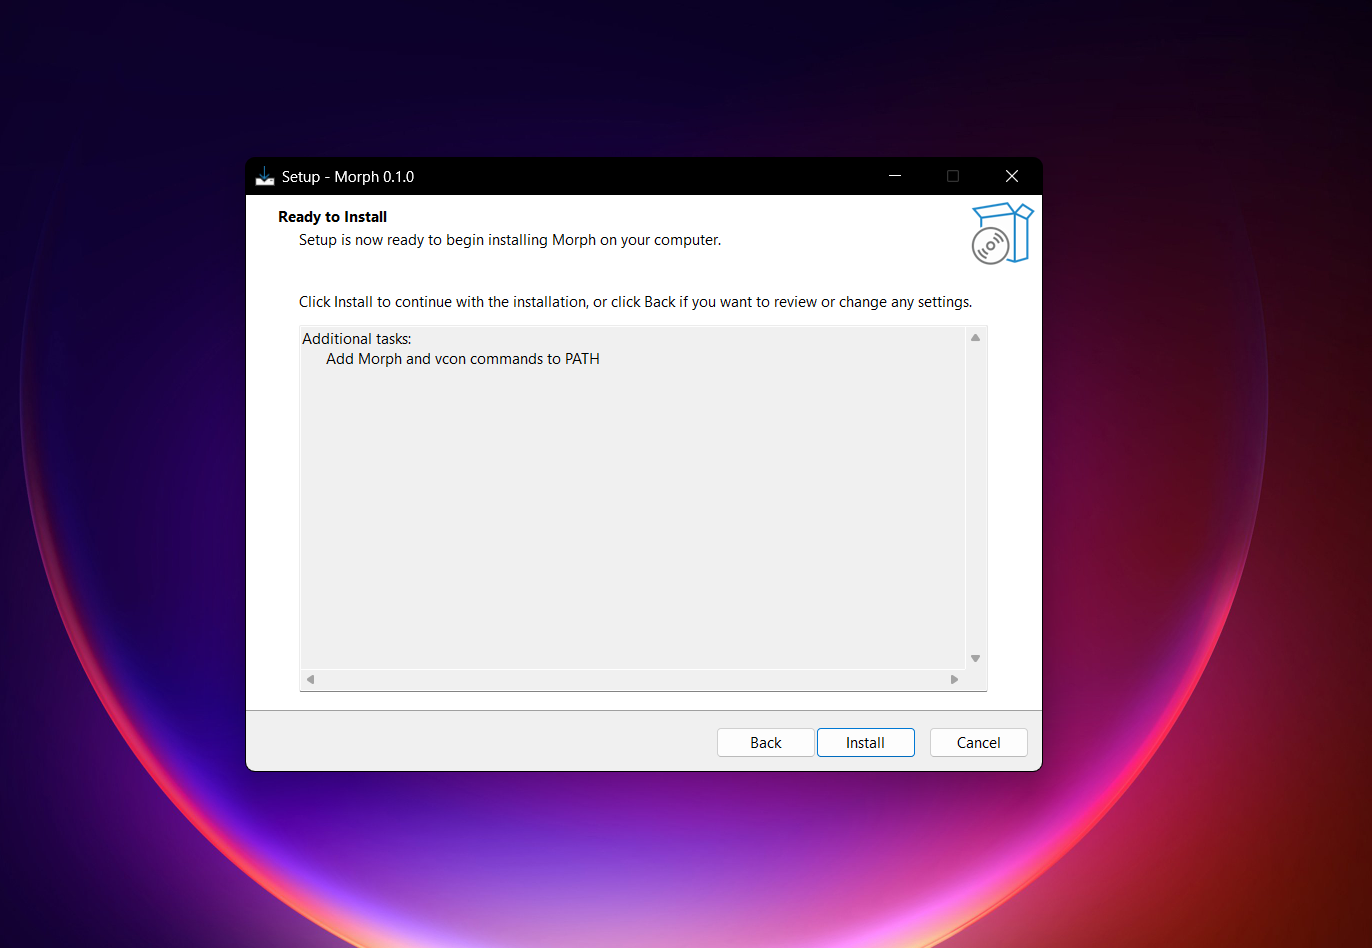
2) Run the Installer and Complete Setup
- Open the installer you downloaded
- Accept the license and complete the setup steps
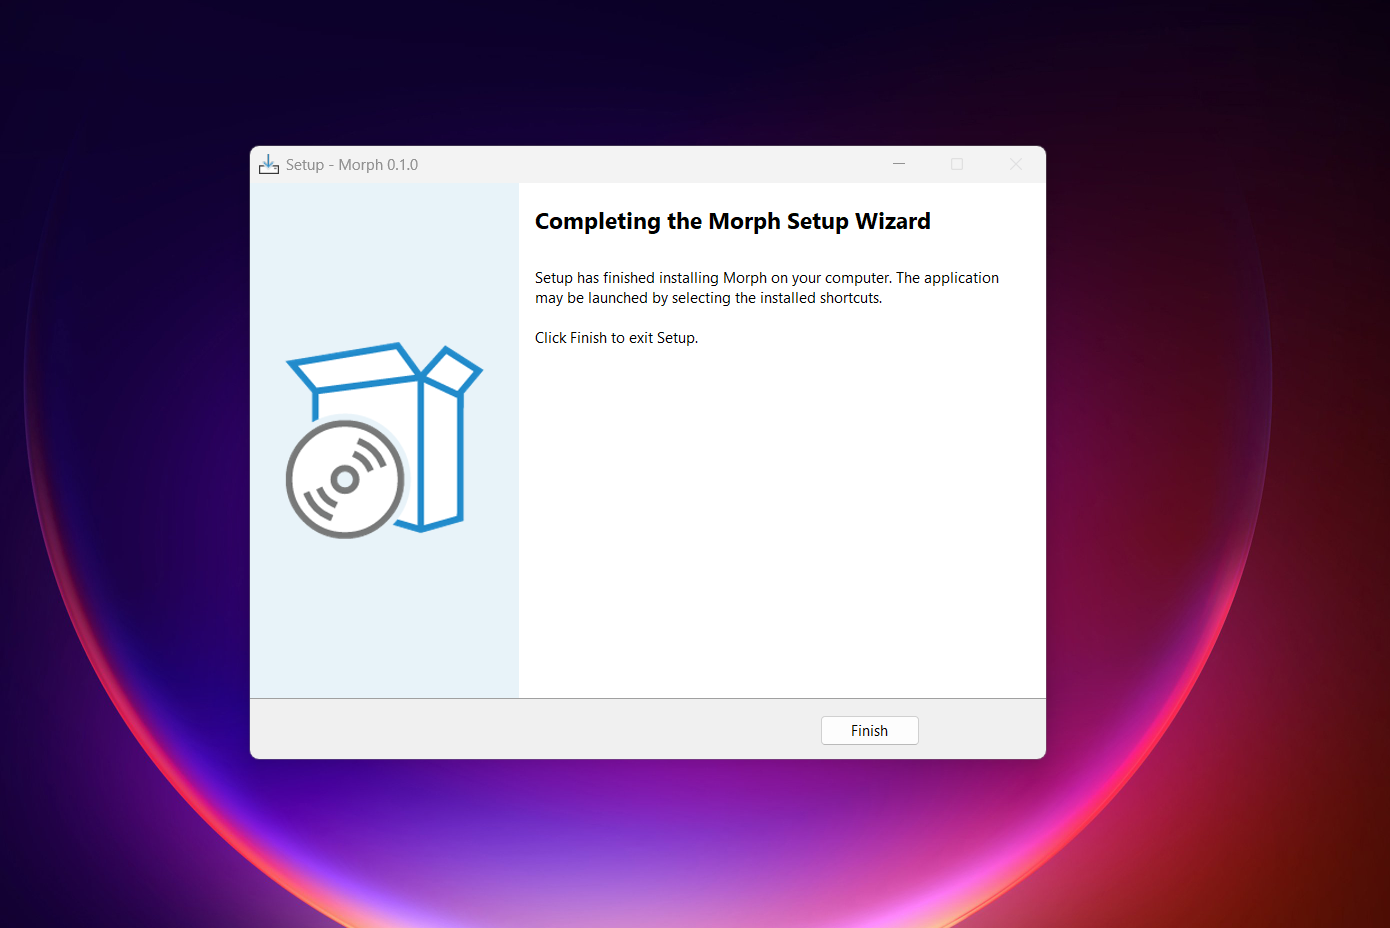
- Finish and close the wizard
3) Open a Terminal (PowerShell, CMD, or Bash)
After installation, open a new terminal window:
- PowerShell
- CMD
- Bash (WSL/Git Bash, etc.)
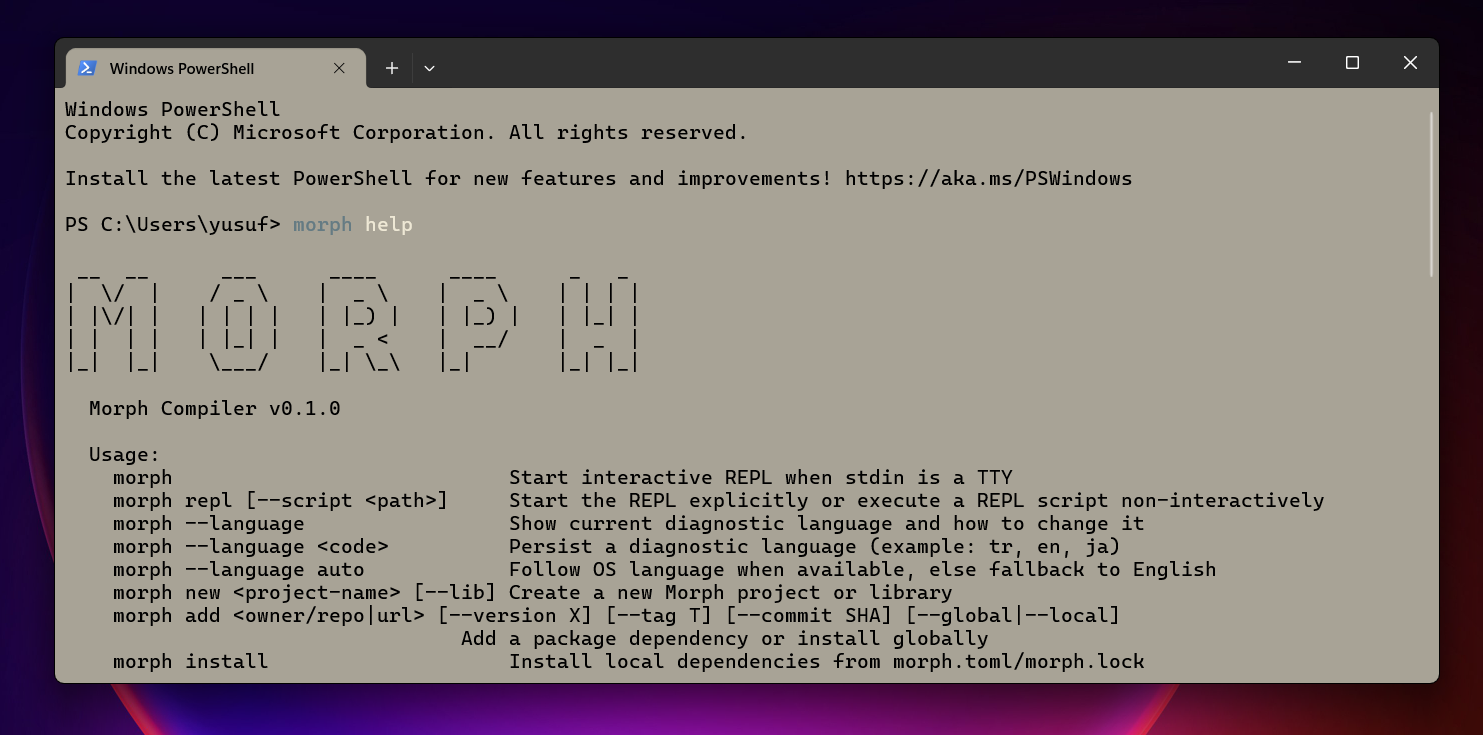
Verify that the command is available:
morph help
Expected result: command help output with available commands.
If morph is not recognized:
- Fully close and reopen the terminal
- If it still fails, rerun the installer or check your PATH
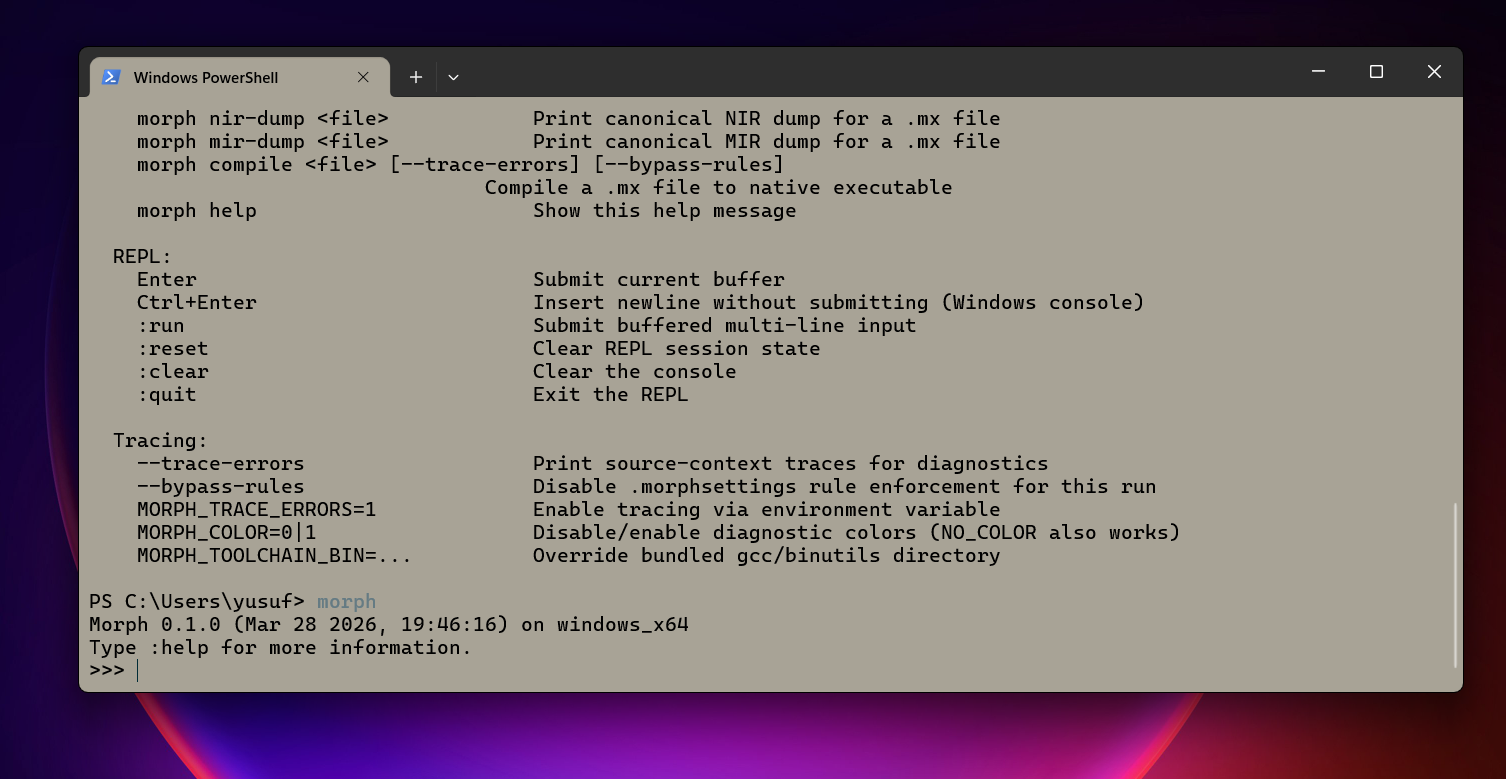
4) Start the REPL
To start the interactive REPL, run:
morph
This starts REPL when running in a TTY terminal.
For a quick check, try a short expression (depends on environment), then exit the REPL.
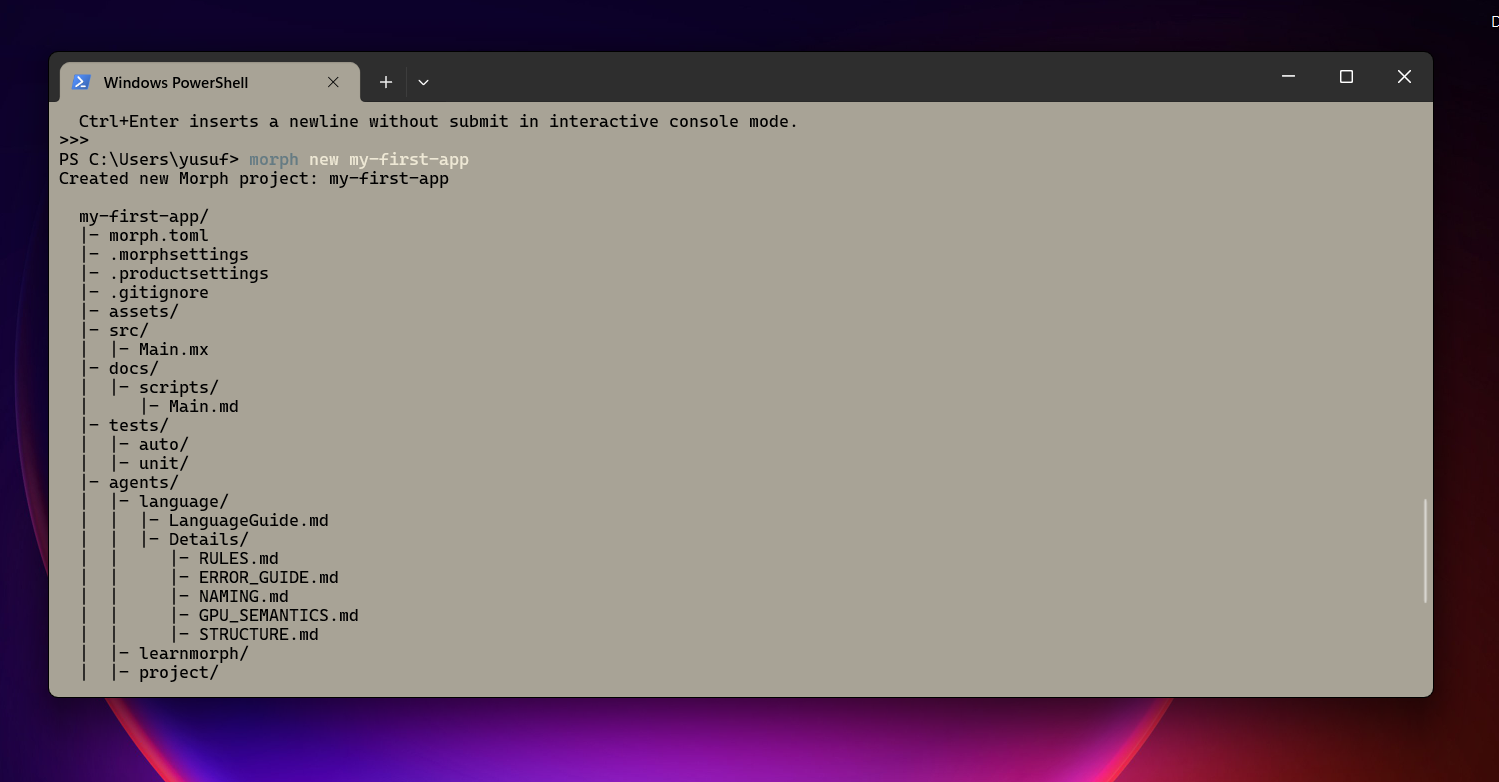
5) Create a New Project
Create the project:
morph new my-first-app
cd my-first-app
This generates a basic project scaffold (morph.toml, src/Main.mx, etc.).
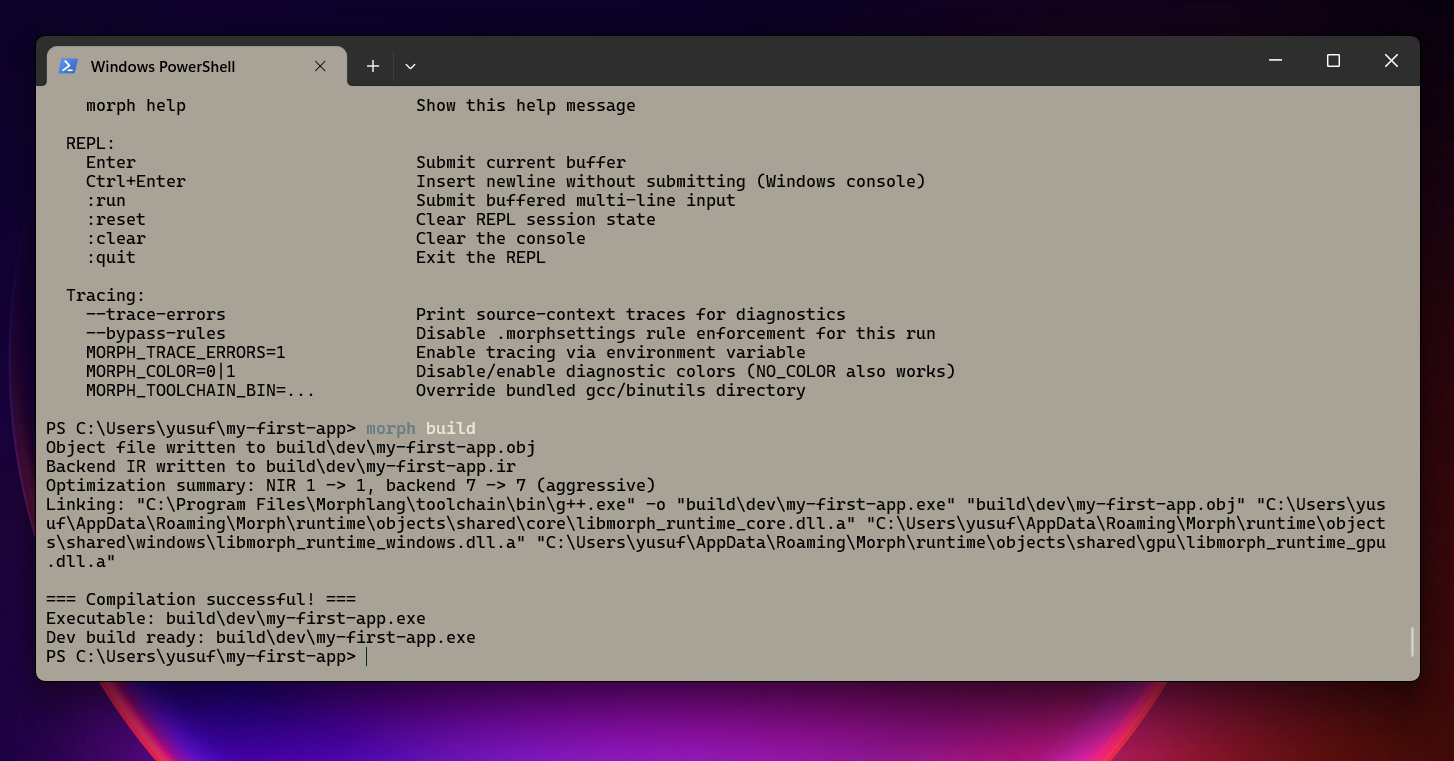
6) Take the First Build
Inside the project folder, run the first build:
morph build
Expected result: build completes and project artifacts are written under build/.
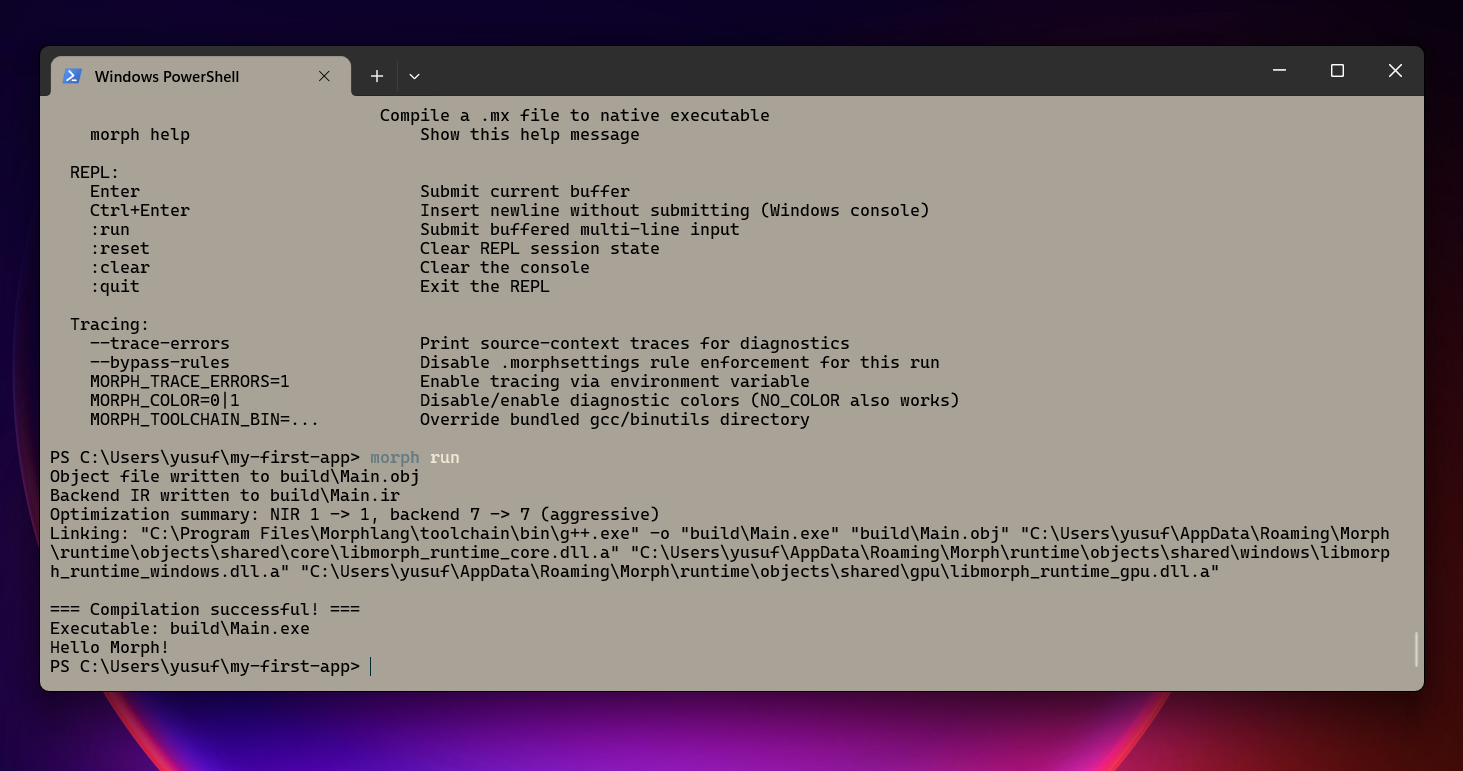
7) Run the Project
In the project folder:
morph run
This command builds the project (if needed) and runs it.
Full Flow (Quick Summary)
# 1) Open a terminal after installation
morph help

# 2) REPL
morph

# 3) New project
morph new my-first-app
cd my-first-app

# 4) First build + run
morph build
morph run
Common Issues
morph command not found
- Open a new terminal
- Check PATH
- Rerun the installer
morph build fails
- Make sure you are in the project folder (you should see
morph.toml) - If
morph helpworks, installation is fine; inspect the build error output for missing dependencies or config issues
Continue
- First app: Hello World
- Project layout: Project Structure
- Command reference: CLI Reference